
Cold-storage shell design 15 × 24 m starting form
Start the conversation between storage layout and the building envelope. This enclosed concept shows rack and pallet positions with generic cooling-unit envelopes, ready for a refrigeration-specific brief.
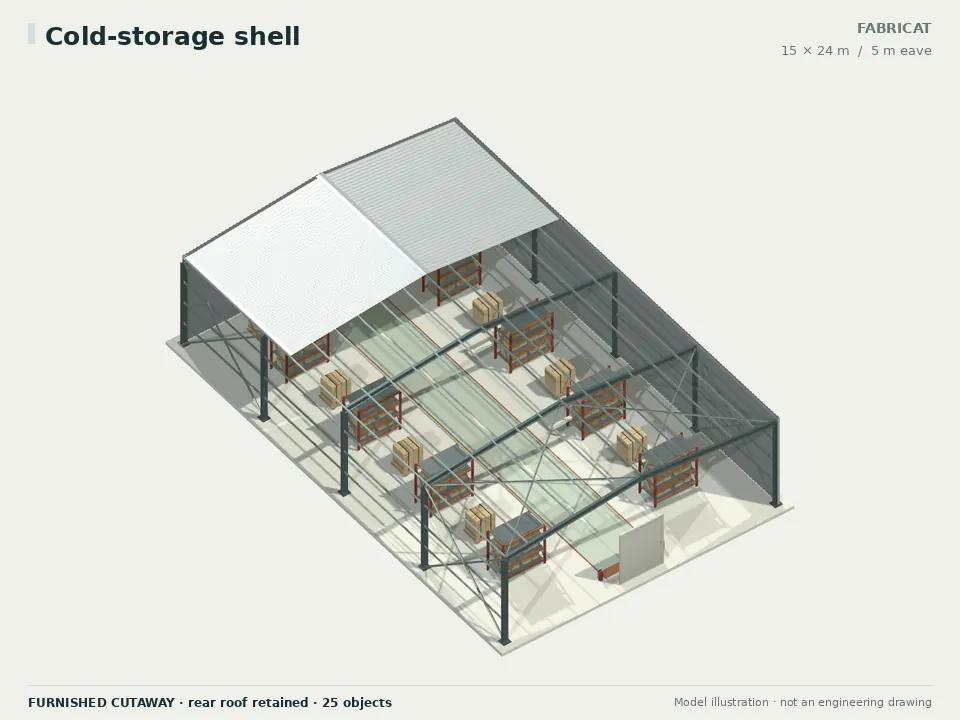 FURNISHED CONCEPT
- Floor footprint
- 360 m²15 × 24 m width × length
- Eave height
- 5 mCheck actual underside clearance
- Bays along the length
- 4 bays6.00 m centre-to-centre
- Wall arrangement
- Enclosed perimeterStructural members remain at openings
See what changes the steel quantity.
The range compares 3, 4, 5 bays at the same width, length, eave, roof, openings and selected sections. It describes those modelled arrangements; it is not an engineered minimum–maximum allowance.
Concept take-off, sections not designed — run the section sizing screen
Starting 4-bay model: 13,306 kg of modelled steel.
See exact scenarios and quantity basis
| Bays | Bay spacing (m) | Model steel (kg) | kg/m² | kg/sq ft |
|---|---|---|---|---|
| 3 | 8.00 | 12,263 | 34.06 | 3.165 |
| 4starting | 6.00 | 13,306 | 36.96 | 3.434 |
| 5 | 4.80 | 14,427 | 40.07 | 3.723 |
Primary / secondary / brace sections: BSP MB 300 × 140 · MC 100 × 50 · ISA 75 × 75 × 6
End-wall framing is enabled, matching a fresh editor preset; modelled end posts are included where walls are clad. This is net frame, secondary-member and plate mass. Procurement waste, cladding, civil works, furnishings and equipment loads remain separate. No price, safe capacity or design approval is inferred.
A furnished starting layout.
The current fit-out generator places 24 physical objects in this starting model. These counts come from that generated layout.
- 8Storage rackLeft cold-store rack · Right cold-store rack
- 8Palletised goodsLeft stored-goods pallet · Right stored-goods pallet
- 3Linear light fixtureGeneral light
- 2Extinguisher positionFire equipment position (review required)
- 2Cold-room evaporatorLeft suspended cooling unit · Right suspended cooling unit
- 1Prefab door assemblyFront entry assembly
The 3.0 m central stripe is a planning reserve, not an approved exit route or vehicle swept-path result. Equipment is generic; confirm capacity, service clearances and actual loads separately.
Questions, answered.
A closer look at the cold-storage shell concept, its editable inputs and the decisions that belong in a project-specific design.
What are the starting dimensions of the cold-storage shell?
The preset starts at 15 m wide by 24 m long, with a 5 m eave and 4 bays along its length. You can edit these dimensions. They describe a concept starting form, not an operating capacity or approved structural design.
Does this cold store achieve a particular temperature?
No operating temperature or refrigeration capacity is calculated. Specify the product, holding conditions, loading cycle, heat gains and equipment duty with the refrigeration designer.
Are insulated panels and vapour barriers specified?
The visible enclosure is a concept shell. Panel build-up, joints, thermal bridges, vapour control, door seals and floor insulation need a complete cold-room specification.
Can the rack layout determine storage tonnage?
The racks and pallets are illustrative envelopes without a certified load or product capacity. Determine the real storage system, product density and handling clearances separately.
What access details should I add before requesting a quote?
Record receiving and dispatch conditions, door sizes, handling equipment, anteroom needs and loading interfaces. Include refrigeration, insulated envelope and civil works as explicit scope items in the quotation.
Related shed concepts.
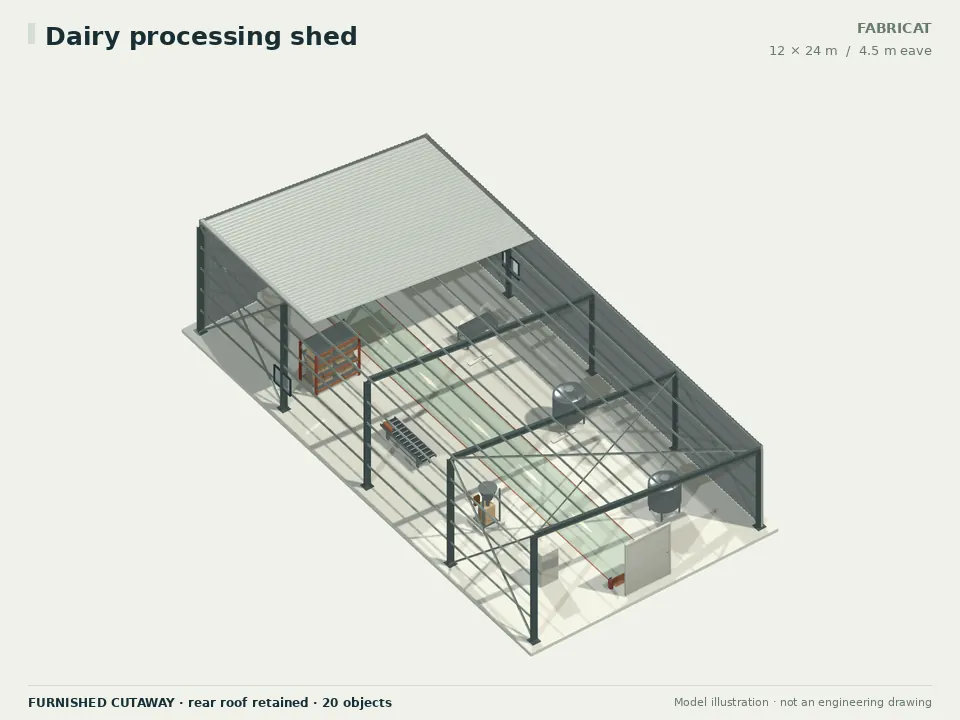
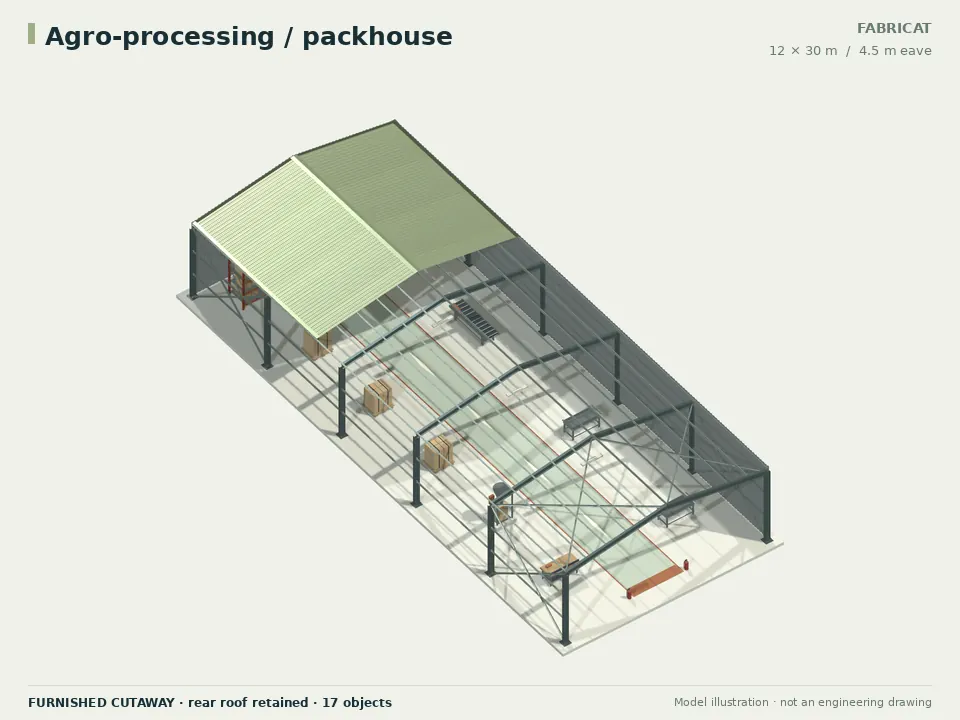
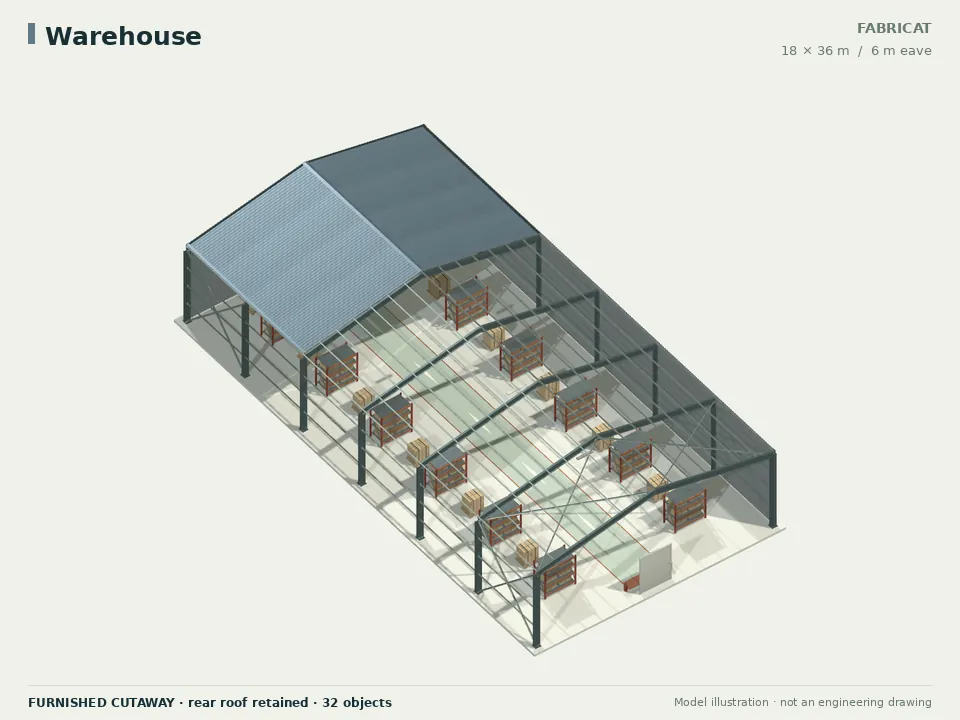
Make this starting point your own.
Adjust the dimensions, roof, enclosure and equipment layout. Keep refining the actual project brief and engineering inputs alongside the model.