
Vehicle showroom design 15 × 24 m starting form
Plan the customer route around display vehicles, reception and consultation space. The enclosed showroom shell offers editable vehicle envelopes and furniture for comparing display density with everyday movement.
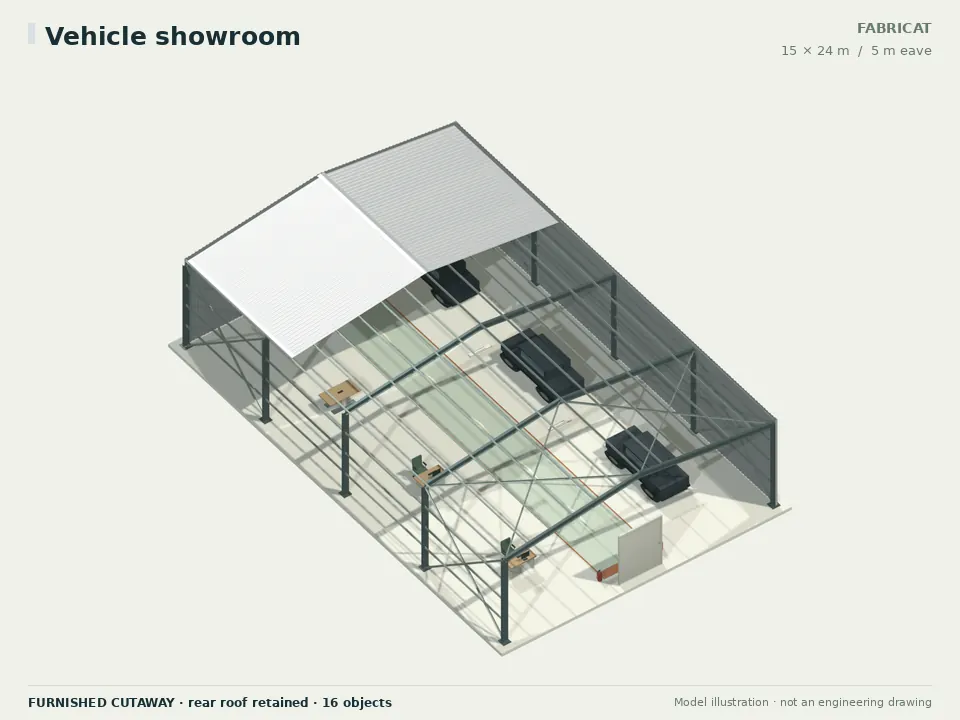 FURNISHED CONCEPT
- Floor footprint
- 360 m²15 × 24 m width × length
- Eave height
- 5 mCheck actual underside clearance
- Bays along the length
- 4 bays6.00 m centre-to-centre
- Wall arrangement
- Enclosed perimeterStructural members remain at openings
See what changes the steel quantity.
The range compares 3, 4, 5 bays at the same width, length, eave, roof, openings and selected sections. It describes those modelled arrangements; it is not an engineered minimum–maximum allowance.
Concept take-off, sections not designed — run the section sizing screen
Starting 4-bay model: 13,355 kg of modelled steel.
See exact scenarios and quantity basis
| Bays | Bay spacing (m) | Model steel (kg) | kg/m² | kg/sq ft |
|---|---|---|---|---|
| 3 | 8.00 | 12,308 | 34.19 | 3.176 |
| 4starting | 6.00 | 13,355 | 37.10 | 3.446 |
| 5 | 4.80 | 14,479 | 40.22 | 3.736 |
Primary / secondary / brace sections: BSP MB 300 × 140 · MC 100 × 50 · ISA 75 × 75 × 6
End-wall framing is enabled, matching a fresh editor preset; modelled end posts are included where walls are clad. This is net frame, secondary-member and plate mass. Procurement waste, cladding, civil works, furnishings and equipment loads remain separate. No price, safe capacity or design approval is inferred.
A furnished starting layout.
The current fit-out generator places 15 physical objects in this starting model. These counts come from that generated layout.
- 3Generic service vehicleDisplay vehicle
- 2Office deskDesk
- 2Office chairChair
- 1Meeting tableCustomer table
- 1Storage cabinetAccessories cabinet
- 3Linear light fixtureGeneral light
- 2Extinguisher positionFire equipment position (review required)
- 1Prefab door assemblyFront entry assembly
The 3.0 m central stripe is a planning reserve, not an approved exit route or vehicle swept-path result. Equipment is generic; confirm capacity, service clearances and actual loads separately.
Questions, answered.
A closer look at the vehicle showroom concept, its editable inputs and the decisions that belong in a project-specific design.
What are the starting dimensions of the vehicle showroom?
The preset starts at 15 m wide by 24 m long, with a 5 m eave and 4 bays along its length. You can edit these dimensions. They describe a concept starting form, not an operating capacity or approved structural design.
Does the showroom arrangement set the vehicle capacity?
The visible vehicles are generic display envelopes. Use actual models and verify door opening, customer movement, vehicle replacement routes and accessibility before deciding the display count.
Can I add a glazed showroom frontage?
Use the opening and facade tools to explore the frontage. Glass performance, framing, supports, safety requirements and connections must be specified for the chosen glazing system.
Are showroom cooling and lighting designed?
The model may show light positions, but it does not calculate lighting levels, cooling load or ventilation. Provide the display, occupancy and facade brief to the services designer.
Can a service workshop be attached to the showroom?
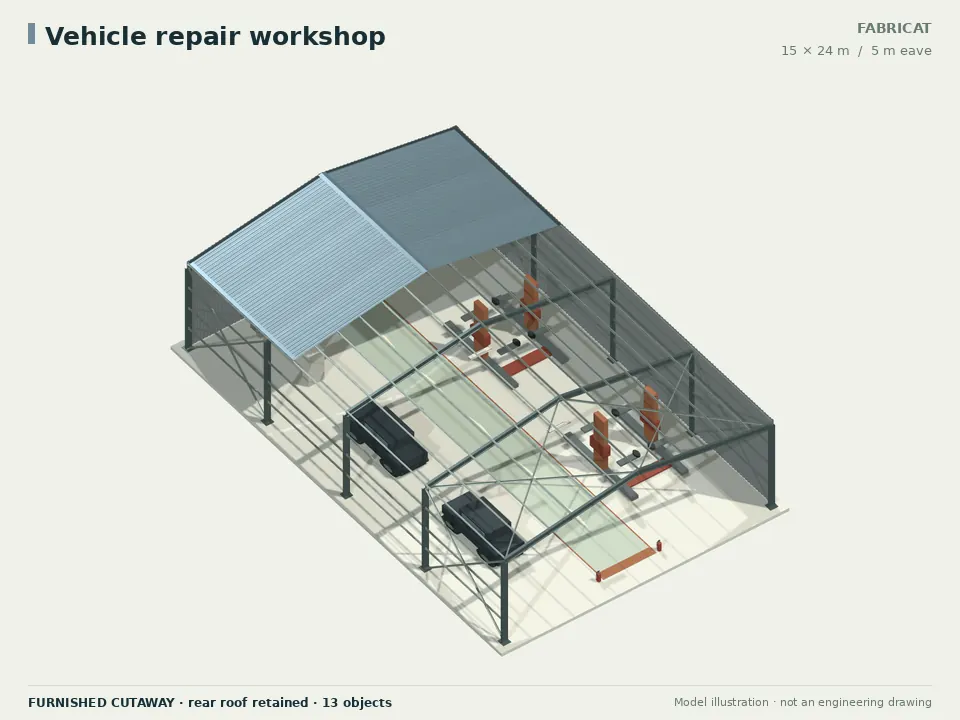
Compare this concept with the vehicle-workshop preset to develop the adjoining brief. Customer circulation, workshop access, separation and combined structural and fire design need a coordinated site layout.
Related shed concepts.
Make this starting point your own.
Adjust the dimensions, roof, enclosure and equipment layout. Keep refining the actual project brief and engineering inputs alongside the model.